
How do you get your listing from good to great?
You take a photo… And then you take it again. We’re talking about pictures!
As real estate investors, we are always surprised by the photos that agents, or other investors, choose to include with their property listings. Dirty mirrors, pet food bowls, and broken swing sets are just some of the eyesores that show up when looking at as many listings as I do.
First impressions aren’t just for people… They’re for properties, too.
When selling a distresses property, looking for an investor buyer, these types of photos may suffice because the investor is looking at the property as a business opportunity, not their forever home.
However, when selling something in move-in ready condition, the photos need to convey that image to a potential renter or buyer.
It’s important that the images help them visualize a safe, clean place where they would be happy to raise their family.
Here are some Do’s and Don’ts for the DIY crowd.
Let’s start with the DO’s:
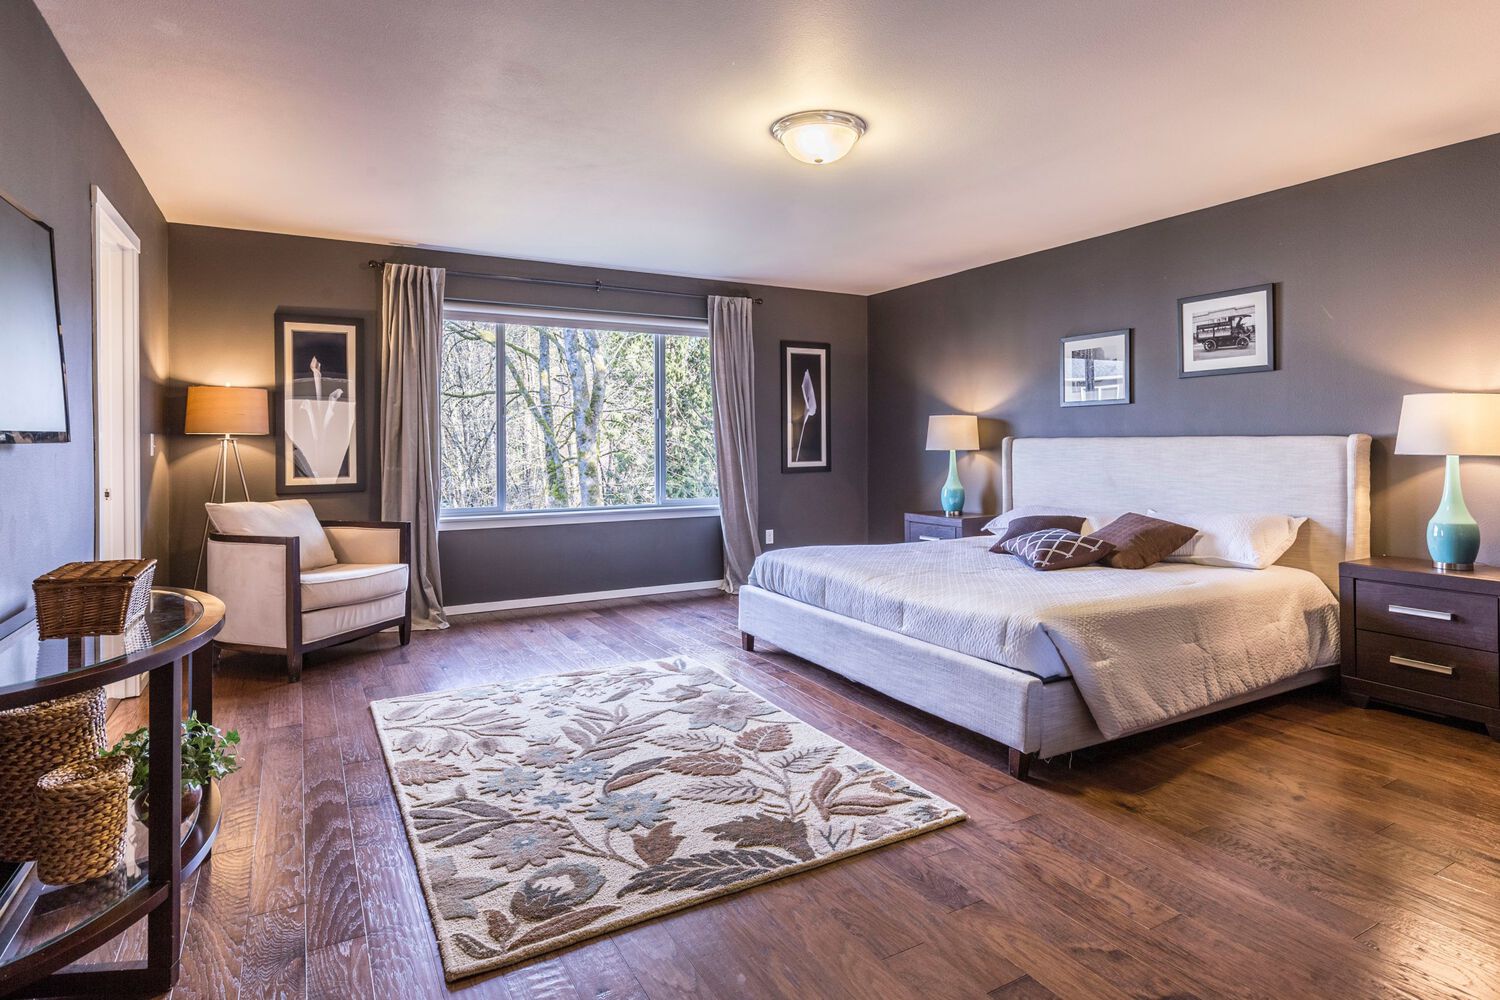
- DO shoot from the corner. It makes any room look bigger and brighter.
- DO use a wide-angle lens. See above.
- DO uncover windows and open doors. Natural light is the best.
- DO remove clutter from every surface. It communicates that the space is clean.
- DO take multiple photos of every room. Just make sure that the first 5-10 photos on the listing are of different spaces, starting with the most important. (Kitchen, living space, master bedroom, master bath, guest bath…)
Now let’s move on to the DON’T’s:
- DON’T rush. If there’s better weather in the forecast, wait for it. Or at least go back and update the listing with new photos.
- DON’T post close-ups. No one wants to see one sink. They want to see the bathroom.
- DON’T leave distractions in the frame. This could be family pictures, pets, or even your own reflection. Capture carefully and look closely!
- DON’T think inside the box. Different techniques, like night shots or aerial views, can set a space apart.
- DON’T forget the outside. If you have a dozen great inside shots, include half of that amount of the outside, too.
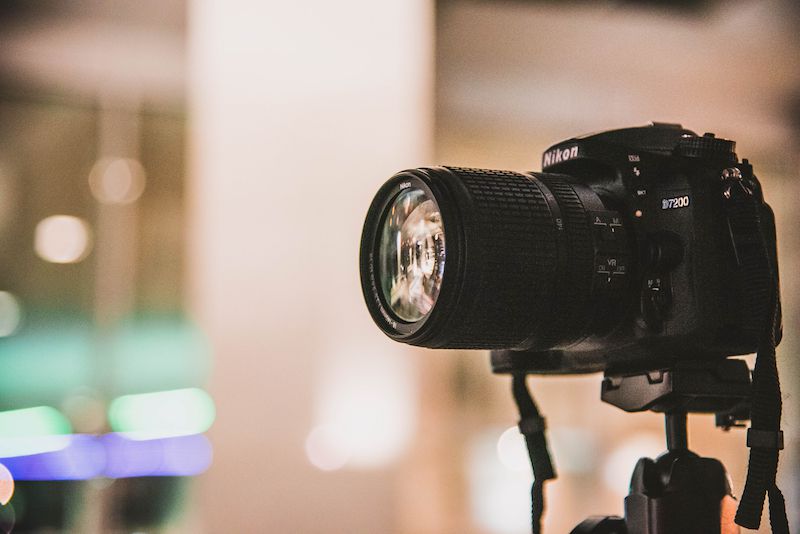
Now, let’s talk tech.
Ideally, consider invest in a DSLR camera and edit your photos using a computer program like Lightroom or Photoshop.
But, not everyone is ready for that commitment.
A smartphone WILL work with a couple of quick tricks:
- Invest in a quality wide-angle lens. These specialty lenses easily attach to your phone, giving a more professional looking edge-to-edge image.
- Use presets. With a camera phone, light isn’t going to be consistent… But you want your photos to be. Presets are filters that can be applied to all of your photos at once. Check out these options on Etsy and see how easy capturing “light and airy” can be.
- Use a tripod and a timer. This eliminates the natural movement of your hand, helping you produce a higher quality photo, especially in larger spaces. Just set it up, then shoot.
Another option?
Find a pro. There are professional real estate photographers in any market and they typically pay for themselves.
Did you know that listings with professional photos sell 32% faster, and for thousands of dollars more?
Here’s the big picture: Photos can make or break your listing.